How to Make Time-Lapse Videos: a Complete Guide
Time-lapse videos are a powerful and captivating way to capture the passage of time in a visual format. Whether you're documenting the changing of the seasons, the construction of a building, or the ebb and flow of traffic in a city, time-lapse videos allow you to showcase these moments in a fast-paced, dynamic way. In this article, we'll explore what a time lapse is, the different ways to create time-lapse videos, and how the SJCAM C400 action camera can be your ideal tool for capturing high-quality time-lapse footage.
What is a Time-Lapse Video?
A time-lapse video is a technique where a series of photos or video frames are captured at set intervals over some time and then played back at a faster speed. This makes the illusion of time moving quickly, even though the subject may have taken hours, days, or even weeks to develop.
People use this technique to capture events that take a long time. Construction of a building, a plant's growth, or a city's daily traffic pattern. These are the instances that your fast-motion camera can easily understand. For example, in a time lapse of a sunset, you might capture one photo every 30 seconds for an hour, and when played back at normal speed, you'll see the entire sunset in just a few seconds.
Time-Lapse Videos are Perfect for
Nature and Landscape Scenes
Capturing the movement of clouds, changing weather, or a blooming flower.
Urban and City Scenes
Documenting the hustle and bustle of traffic, crowds, or the transformation of a cityscape.
Creative Projects
Recording art creation, construction projects, or other long-term processes.
Making a time-lapse video requires careful planning, including choosing the right subject, camera settings, and equipment. Below, we'll explore three different methods to help you make stunning time-lapse videos.
Three Methods to Make Time-Lapse Videos
Method 1. Using a Smartphone
Smartphones have become a go-to tool for capturing time-lapse videos due to their convenience and ease of use. Most modern smartphones, such as iPhones and Android devices, come with a built-in time lapse mode that simplifies the process.
Steps for Using a Smartphone
(1) Open the Camera App
Launch your smartphone's camera app and select the time lapse option.
(2) Position the Phone
Place your phone on a stable surface or mount it on a tripod to avoid shaky footage.
(3) Start Recording
Tap the record button and let the phone capture the scene over a set duration.
(4) Review and Edit
Once the recording is finished, review the footage and edit it as needed using your phone's built-in editing tools or third-party apps.
Pros of Using a Smartphone
- Fast and convenient for beginners.
- No additional equipment is required (apart from a tripod).
- Easy to share and edit footage directly on the phone.
Cons of Using a Smartphone
- Limited control over camera settings such as exposure, focus, or interval times.
- Battery life may restrict recording time for longer time-lapse projects.
Method 2. Using an Action Camera
Action cameras, like the SJCAM C400, offer greater flexibility and higher-quality time-lapse footage compared to smartphones. These cameras are designed for extreme conditions and are often waterproof, durable, and compact, making them ideal for outdoor time-lapse projects.
Steps for Using an Action Camera
(1) Mount the Camera
Secure your action camera on a tripod or mount to ensure stability.
(2) Select Time Lapse Mode
Access the camera's settings and select the time lapse function.
(3) Adjust Settings
Choose the desired interval (e.g., 1 second, 5 seconds, 10 seconds) and video resolution (e.g., 1080p, 4K).
(4) Start Recording
Begin recording and let the camera capture your scene over time.
Pros of Using an Action Camera
- High-quality video with customizable settings.
- Durable and waterproof, suitable for both indoor and outdoor use.
- Compact and portable, easy to mount in hard-to-reach places.
Cons of Using an Action Camera
- Requires additional mounting equipment.
- May need an external power source for longer recordings.
Method 3. Using Video Editing Software
Another approach to making time-lapse videos is by using video editing software. This method involves recording standard video footage and then speeding up the video in post-production to make the time-lapse effect.
Steps for Using Video Editing Software
(1) Record Regular Video
Capture a video of the scene you want to turn into a time lapse.
(2) Import the Video into Editing Software
Use professional video editing software like Adobe Premiere Pro, Final Cut Pro, or a free program like DaVinci Resolve.
(3) Speed Up the Video
In the software, increase the playback speed of the video to make the time-lapse effect.
(4) Export and Share
After final adjustments and editing, export the video to your preferred format and share it with your audience.
Pros of Using Video Editing Software
- Full control over video speed and other editing features.
- Ability to enhance and color-correct the footage.
- It can be used to repurpose existing video footage.
Cons of Using Video Editing Software
- Requires more time and skill to produce the desired result.
- Needs a computer and specialized software.
- It may require longer video footage to achieve smooth results.
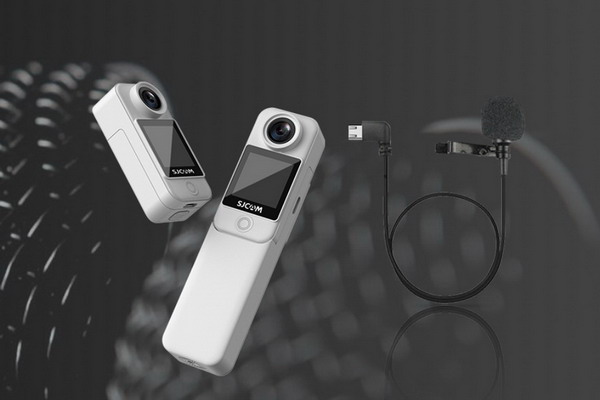
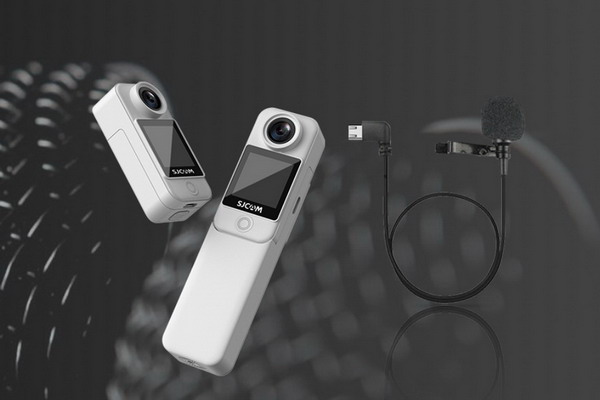
If you're looking for an action camera that excels at time lapse, the SJCAM C400 is an excellent choice. This camera offers a range of features that make it perfect for capturing high-quality time-lapse footage in various environments.
Why Choose the SJCAM C400 for Time Lapse?
The SJCAM C400 action camera offers advanced features tailored for time-lapse videography.
4K Ultra HD Video
Capture sharp and clear footage at up to 4K resolution, ensuring your time-lapse videos look professional and crisp.
Super Wide-Angle Lens
The super wide-angle lens gives you a broader field of view, which is ideal for scenic or urban time-lapse shots.
Adjustable Interval Settings
Choose intervals ranging from 1 second to several minutes, depending on the subject you're capturing.
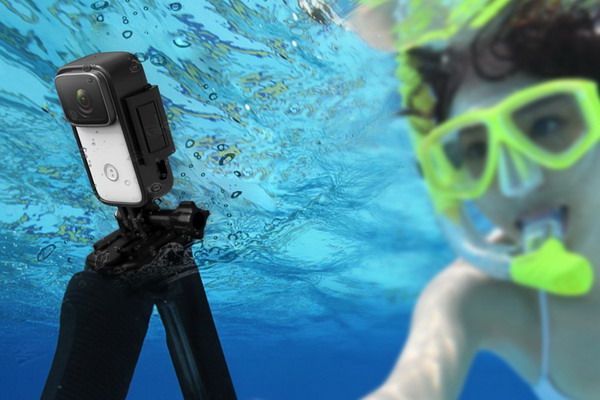
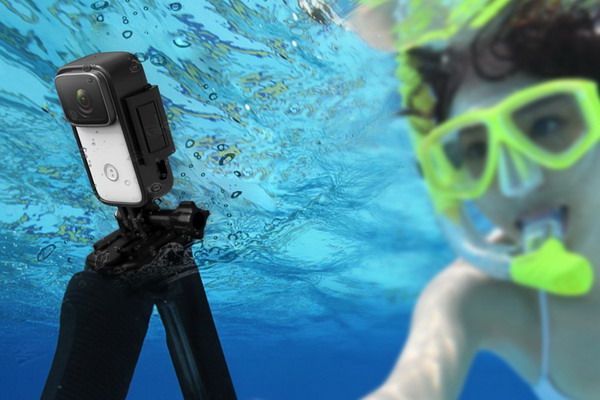
Waterproof and Durable
The SJCAM C400 is built to withstand harsh outdoor conditions, including rain, snow, and dust — perfect for capturing nature time lapse.
Long Battery Life
With a long-lasting battery, the SJCAM C400 can record time lapse for hours, making it perfect for capturing events that take place over extended periods.
For more details, visit the SJCAM C400 product page.
How to Make a Time-Lapse Video with the SJCAM C400
Step 1. Mount the Camera
Secure the SJCAM C400 on a tripod or other stable mount.
Step 2. Select Time Lapse Mode
In the camera's settings, switch to time lapse mode and adjust the interval time to suit your needs.
Step 3. Frame the Shot
Position the camera to capture the subject or scene you want to time lapse, ensuring there are no obstructions.
Step 4. Start Recording
Begin recording and let the SJCAM C400 capture the footage. Once finished, you can review the footage directly on the camera or transfer it to your device for further editing.
Conclusion
Making time-lapse videos is an exciting way to capture the world in motion, and with the right equipment, you can make stunning results. Whether you're using a smartphone for a quick shot, an action camera like the SJCAM C400 for high-quality outdoor footage, or editing software for more control, each method offers unique advantages.
For those serious about time-lapse videography, the SJCAM C400 stands out as a top choice, providing excellent video quality, customizable settings, and the durability needed for all types of environments.
Learn More:
How to Make Slow-Motion Videos: a Complete Guide
Exploring EIS Cameras: a Comprehensive Guide to Electronic Image Stabilization